
Here we have a Karcher Pressure washer K3.20, that was facing with a problem – low pressure. We decide to repair it at home, so we order a spare Cylinder Head from ebay. Here we gonna explain the procedure how we do replacement of the cylinder head.
First we need to remove the pistol and the handle assigned with the red arrows on the picture.


After that we have this.

After that need to remove the holder

Now we turn it from the back, there are screws that need to be removed as assigned on the picture.

After that we detach the front cover, but before that we detach the power cable and the hose for car wash shampoo.
 Now, we need to remove the holder. There are two screws on the back side.

Now the holder is removed and the pump can be removed from its position.
 Now we have the pump out.

There are four screws on the top that need to be removed.

But first need to remove the plastic hoses. That is done by firs removing the claws as shown on the next pictures.


 Now we can remove the four screws. HERE IS IMPORTANT to enumerate that all four screws need to be unscrewed evenly.

Don’t forget the wire for ground.
 As we begin to unscrew the four screws, the springs underneath will detach the pump from the electric motor.

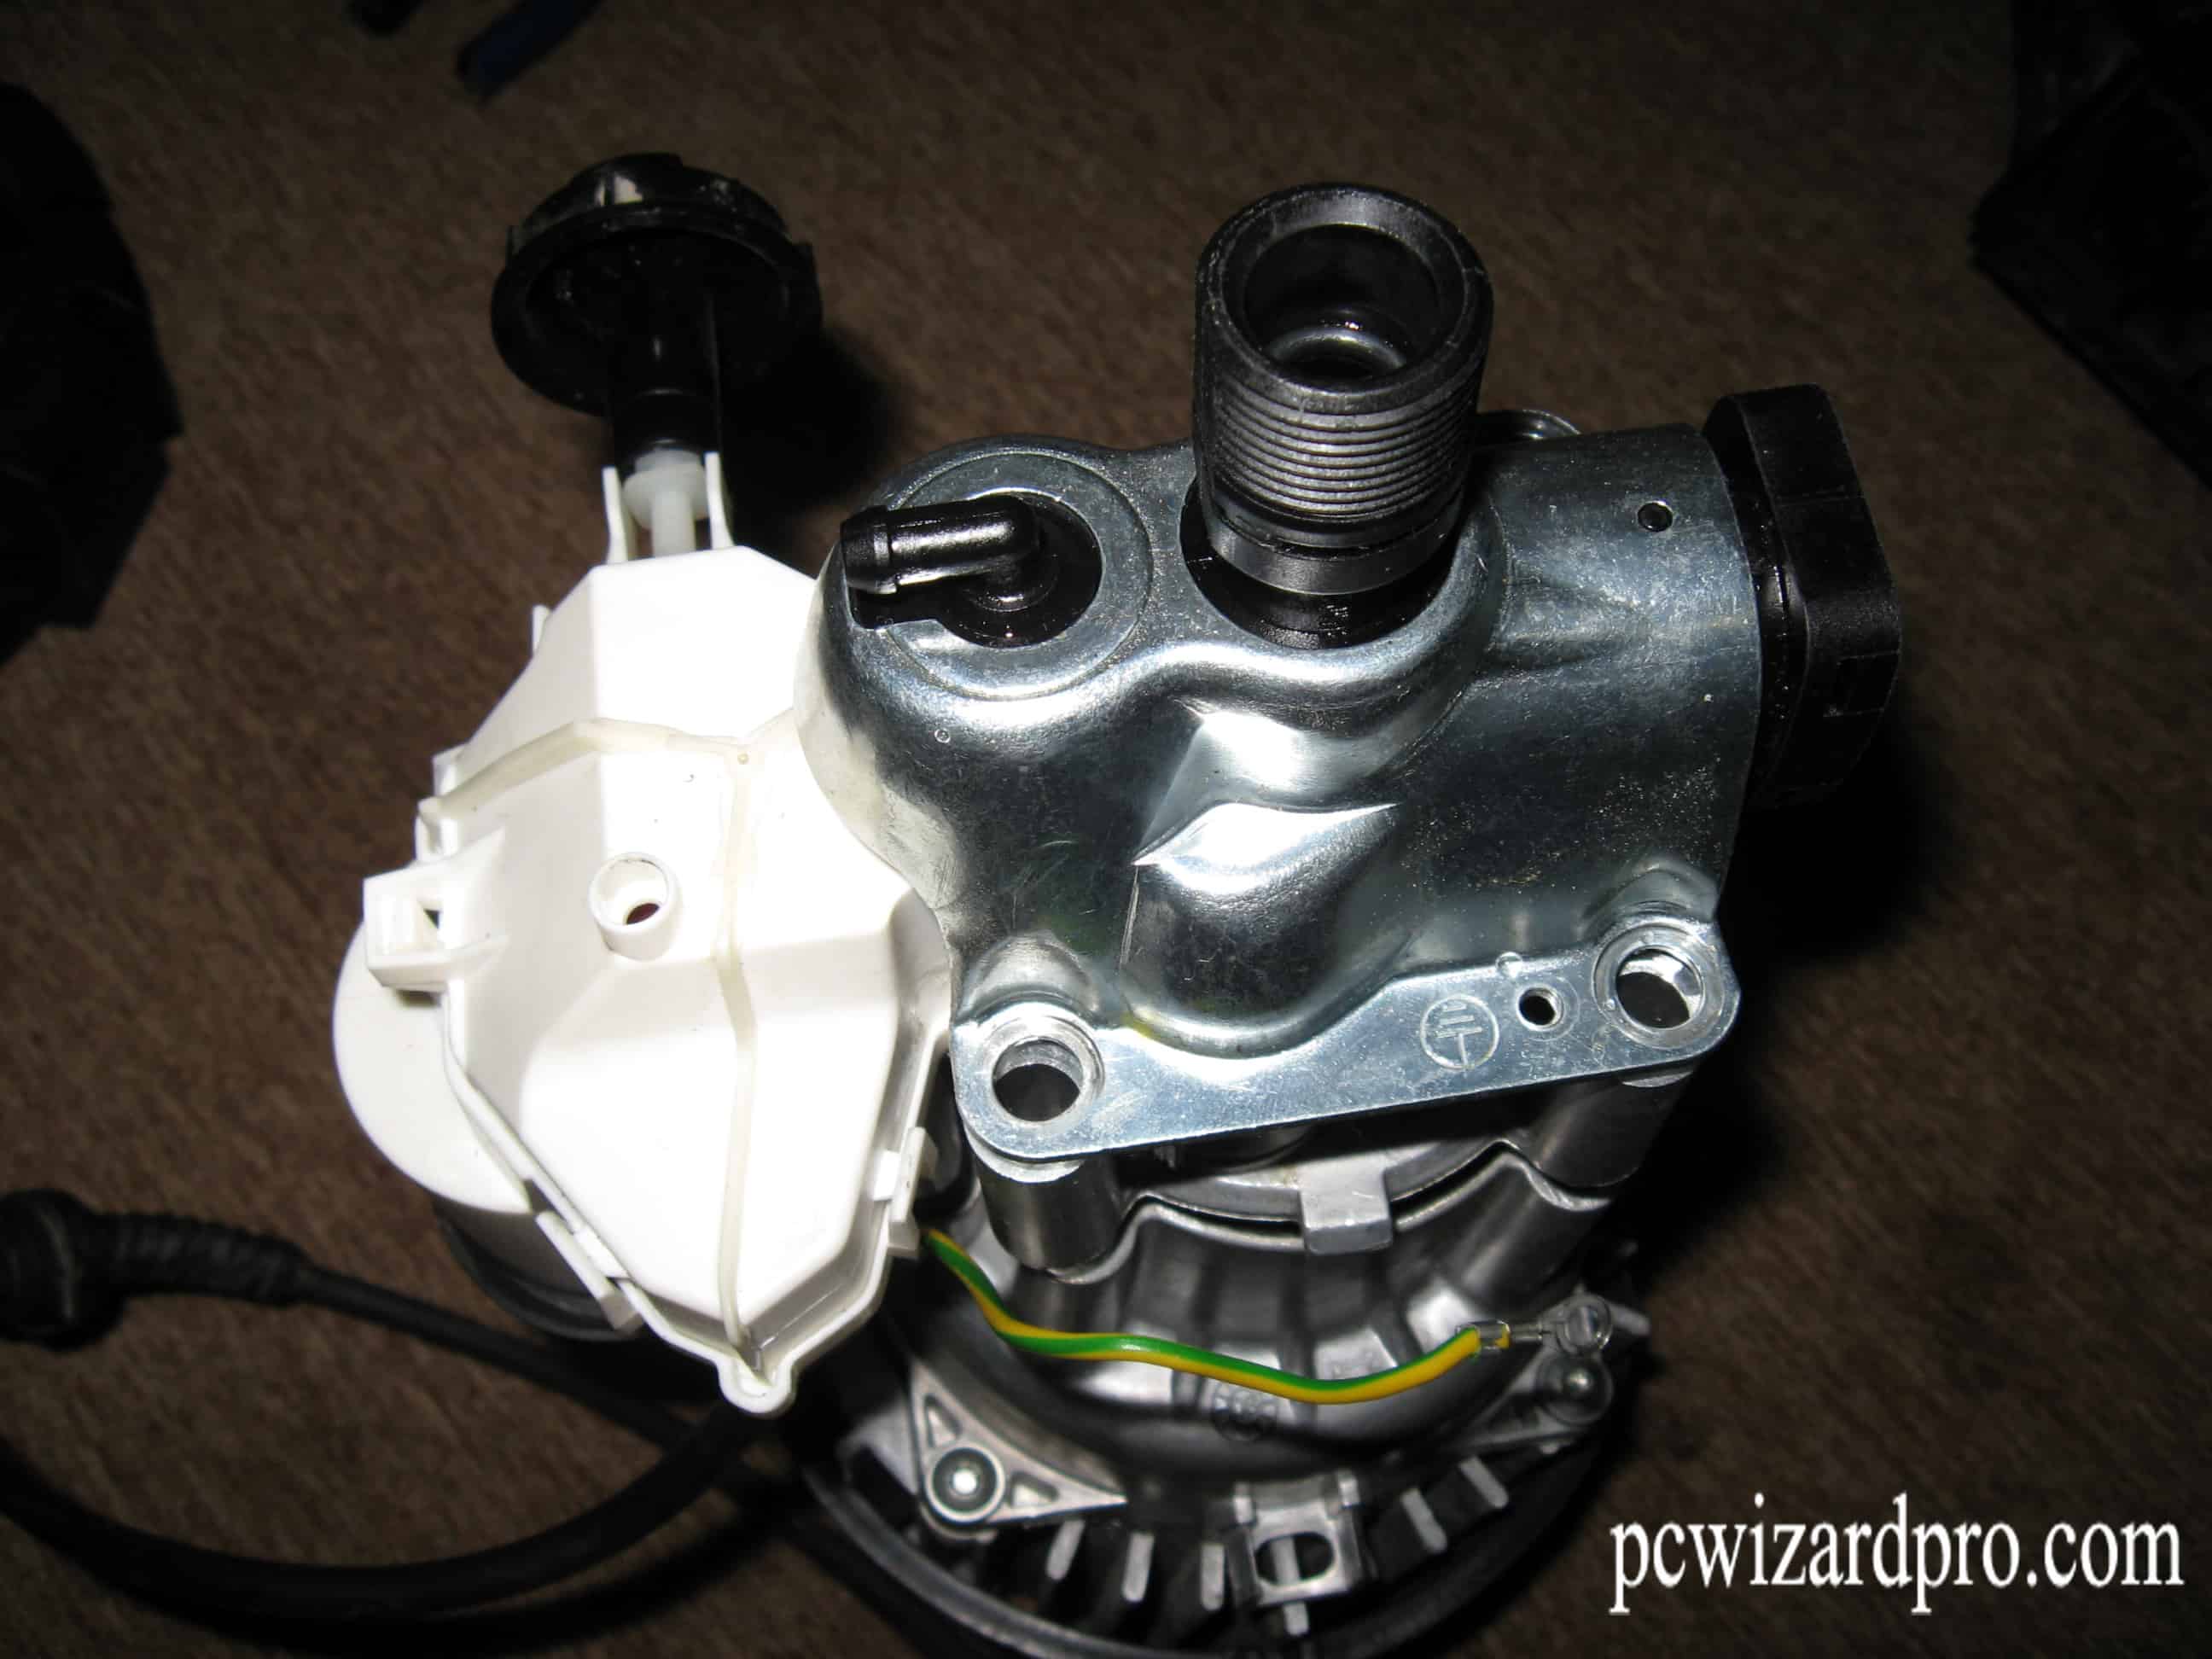
 After removing the all screws, carefully remove the pump.
 Be careful with the cable.
 Underneath there is a grease that lubricant the pump. Do not wipe it. Leave it as it is.

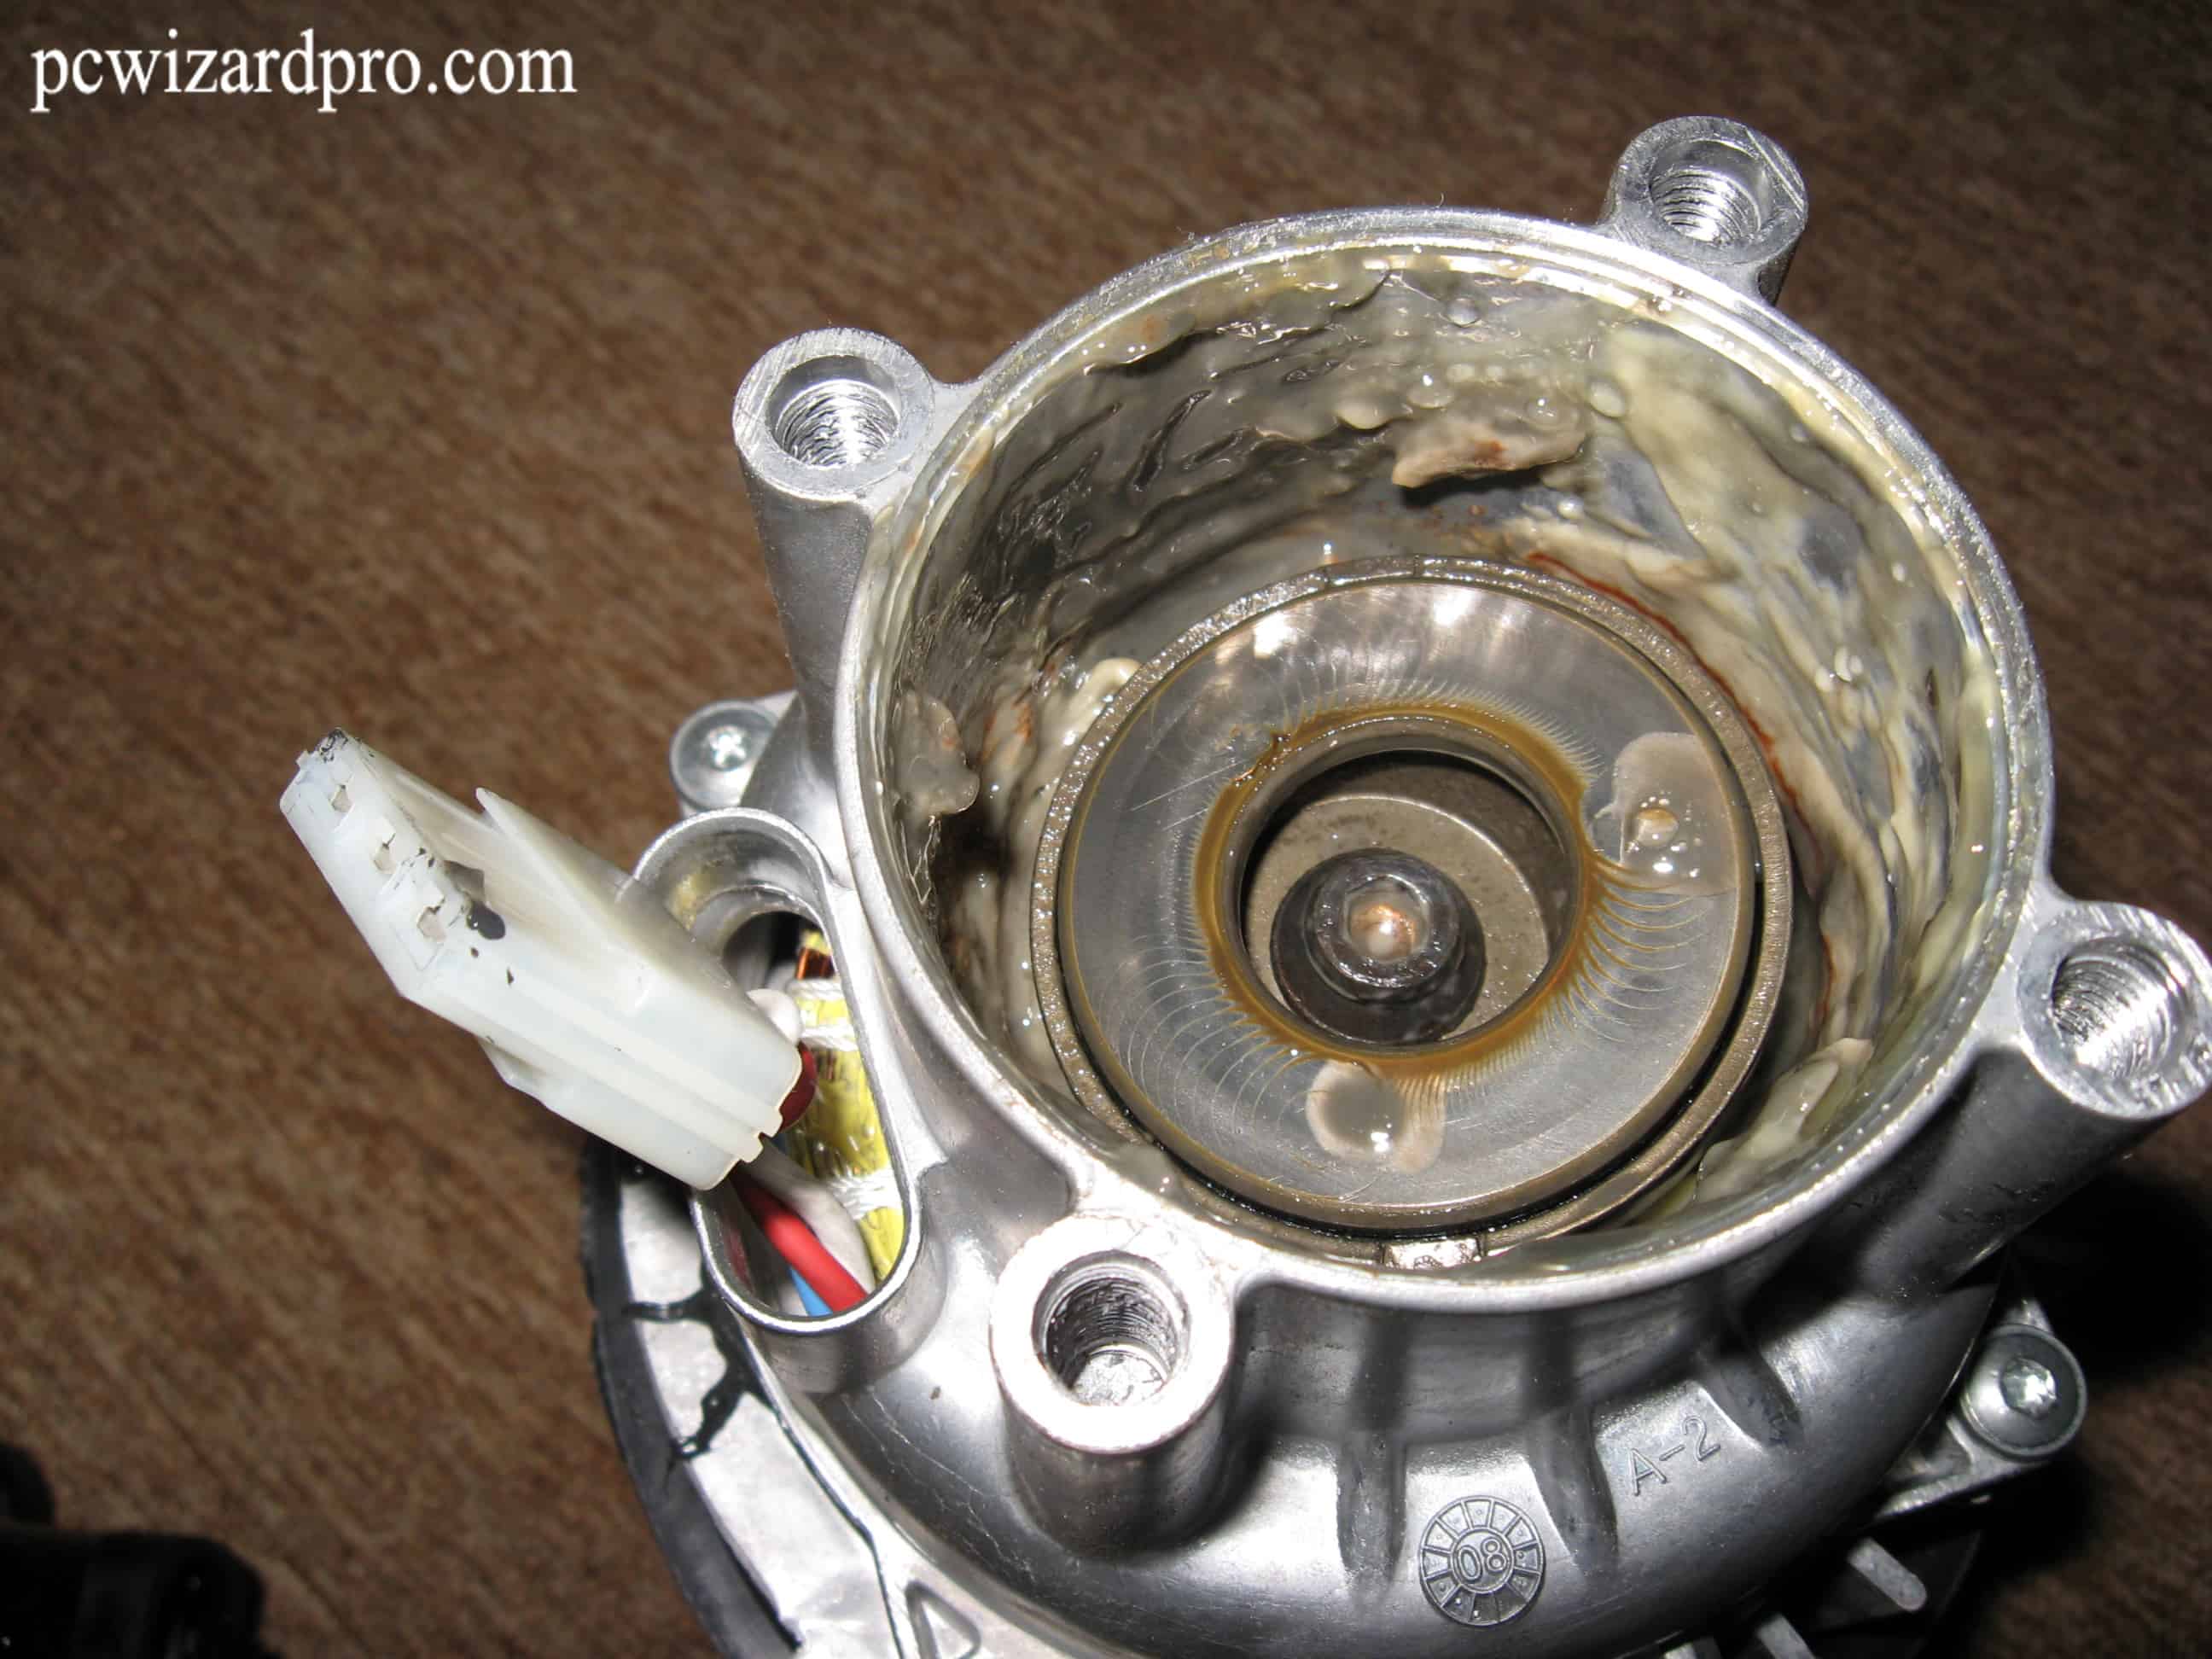 In our case maybe need to add a little more lubricant, but as we read the forums this is a special grease from Karcher, so better do not add other if it is not original from Karcher.
Now we gonna detach the cylinder head.

And we see the problem. The pistons that make the pressure are broken.
 We have a spare new cylinder head.

 We add the spring that is under the nozzle on the new cylinder head.
 It’s not bad at this time to remove and clean the nozzle.

The nozzle is back in place and we begin to assemble the pump.

There is assigned on the picture how to place the cover.

After all the parts are in place and we can place the screws.
As we said before, all the screws must be tighten evenly.

After this the pump need to be placed in the plastic covers and it’s ready to roll. 🙂

I bought 15w40 oil for the piston without realizing that it’s the grease I needed. What is the grease that I use to lubricate the pistons?
Many thanks,
Andrew
This is the official Grease from Karcher: http://www.ebay.com/itm/KARCHER-VISCOUS-OIL-50ML-69640920-6-964-092-0-/181324069372?pt=LH_DefaultDomain_15&hash=item2a37c1b9fc
But it is very expensive for just 50ml. So that’s why people use oil as a replacement. It’s up to you to decide.